To format an image on your website:
- If your image is already placed, select it and right click, selecting “Insert Edit Image” again.
- Alternately, you can select the image and hit the “Insert/Edit Image” button as you did when you inserted it.
- Note: You can find these same tools in the image insertion dialogue if you are still adding the new image.
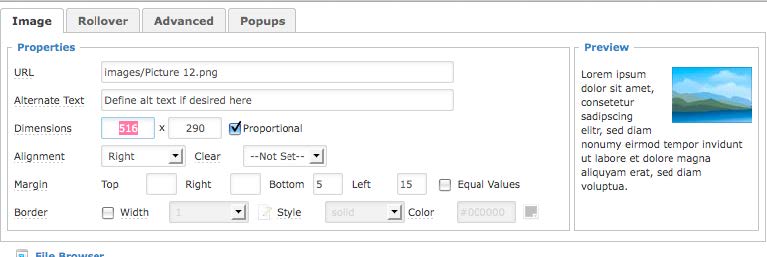
- At the top of this item, you can change the size of your image, add a border around it, and add vertical and horizontal space.
- Use the “Alignment” drop down to float the image left or right and allow text to wrap around it.
- Use the “Margin” tools to add padding around an image. These can toggled between independent values to equal values on all sides.
- Note: When floating images, this helps create space between the image and text wrapping around it. 5 to 10 pixels is recommended if you choose to use this.
- Click OK once complete.
- If you would like the image to link somewhere, highlight the image in the editor and use the “Link” tool.